
# Jetstream with Inertia
Once again, our starting point is a new server provisioned with Laravel Forge (opens new window)
# Install Laravel
In this example we will use composer to install Laravel. Alternative methods explained in Laravel Documentation (opens new window).
composer create-project laravel/laravel app
Let's go to the new Laravel application directory
cd app
Update the app .env file with your database credentials
DB_DATABASE=
DB_USERNAME=
DB_PASSWORD=
Create your storage symbolic link:
php artisan storage:link
# Install Jetstream
composer require laravel/jetstream
# Install Jetstream Inertia
php artisan jetstream:install inertia
Then run
npm install
npm run dev
php artisan migrate
# Install Laranx
Copy laranx.zip to app directory and unzip.
unzip laranx.zip
This will add packages\srg\laranx\src files to your application
Add the following to composer.json
    "repositories": [
        {
            "type": "path",
            "url": "packages/srg/laranx",
            "options": {
                "symlink": true
            }
        }
    ],
And the following line to "require": section in composer.json
"srg/laranx": "dev-master"
There have been issues with adding the package from the command line, so add it manually to the composer.json file.
Finally, run the following
composer update
php artisan migrate
# LaraNx Setup
Once LaraNx has been installed in your Laravel application we are going to publish and setup routing.
Publish the theming directory
php artisan vendor:publish --tag=laranx
This will create the necessary files for themes in your views directory.
In your routes/web.php
Add before any other routes are declared.
use Srg\Laranx\Laranx;
Laranx::routes();
# LaraNx Admin
Once the previous steps are complete your LaraNx install will work in your application.
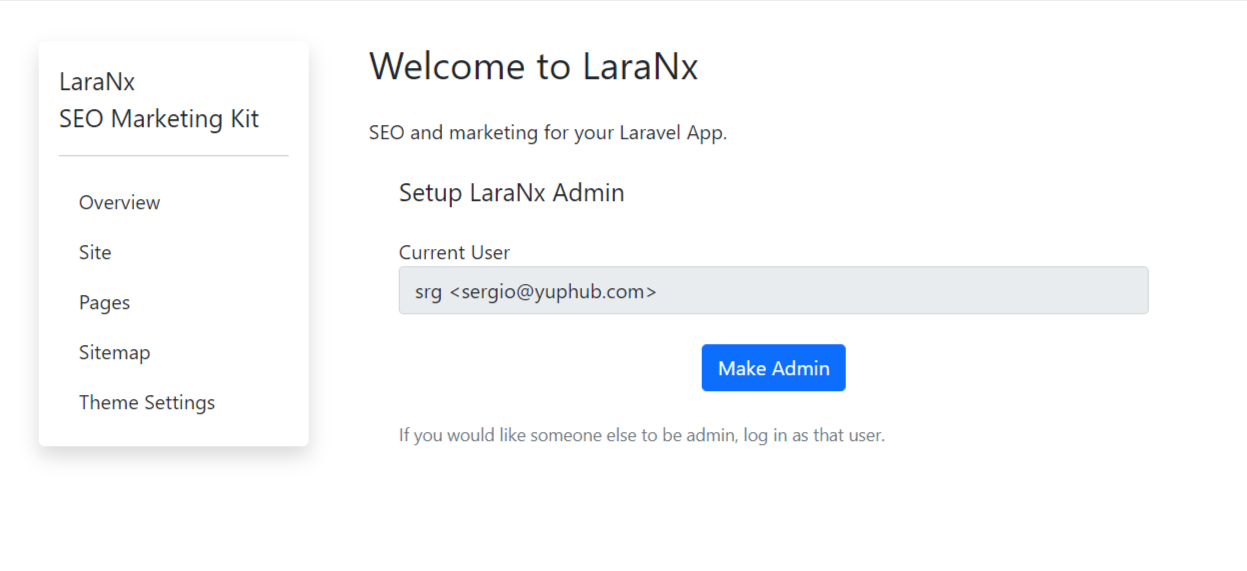
Log in to your application and replace 'dashboard' in the url with 'laranx'. ie: yoursite.com/laranx
You will get the Welcome to LaraNx screen.
This concludes our Laravel Breeze full install.