
# Installation
When you pay for your site license or lifetime license (if available) you are entitled to a copy of the LaraNx code.
The installation documentation begins after you have created your laravel application and installed one of the Laravel Starter Kits. We have provided a video and detailed explanation of how you can create your Laravel application and launch Laranx in under 5 minutes here.
# Download Package
Whether your account is on LaraNx.com or Gumroads you will have access to downloading a zip file.
Download the file and uncompress in root directory of your Laravel installation. Eventually, a composer package will be available, but for now we will use this method.
# Install
Begin by copying the laranx.zip file to your application root directory.
Uncompress the laranx.zip file using unzip.
unzip laranx.zip
The following directories will be created in your application.
|-packages
    |-srg
        |-laranx
In composers.json add:
"repositories": [
        {
            "type": "path",
            "url": "packages/srg/laranx",
            "options": {
                "symlink": true
            }
        }
    ],
And the following line to "require": section in composer.json
"srg/laranx": "dev-master"
There have been issues with adding the package from the command line, so add it manually to the composer.json file.
If you haven't created your storage symbolic link yet run:
php artisan storage:link
Run the following commands:
composer update
php artisan migrate
Publish the theming directory
php artisan vendor:publish --tag=laranx
Finally, we are going to setup routing.
In your routes/web.php
replace:
Route::get('/', function () {
    return view('welcome');
});
with
use Srg\Laranx\Laranx;
Laranx::routes();
# Setup LaraNx Admin
Once the install is complete, LaraNx is ready.
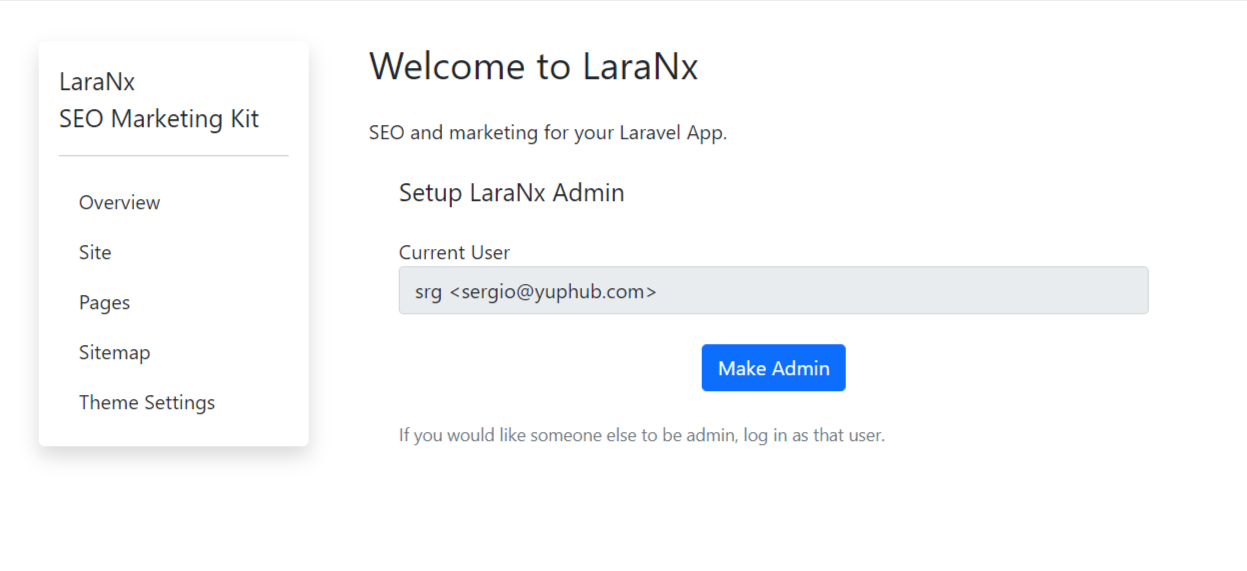
Log in to your application and add '/laranx' after your domain. For example: yoursite.com/laranx
You will get the Welcome to LaraNx screen.
← Introduction Admin →